API Std 617: 2002 Axial and Centrifugal Compressors and Expander-compressors for Petroleum, Chemical and Gas Industry Services
Подождите немного. Документ загружается.


3-33
ANNEX 3D
INSPECTOR’S CHECK LIST
COPYRIGHT 2002; American Petroleum Institute
Document provided by IHS Licensee=Shell Services International B.V./5924979112,
User=, 10/07/2002 18:49:21 MDT Questions or comments about this message: please
call the Document Policy Management Group at 1-800-451-1584.
-- | ||| | | | |||| || | |||| || | | | | ||| | |---

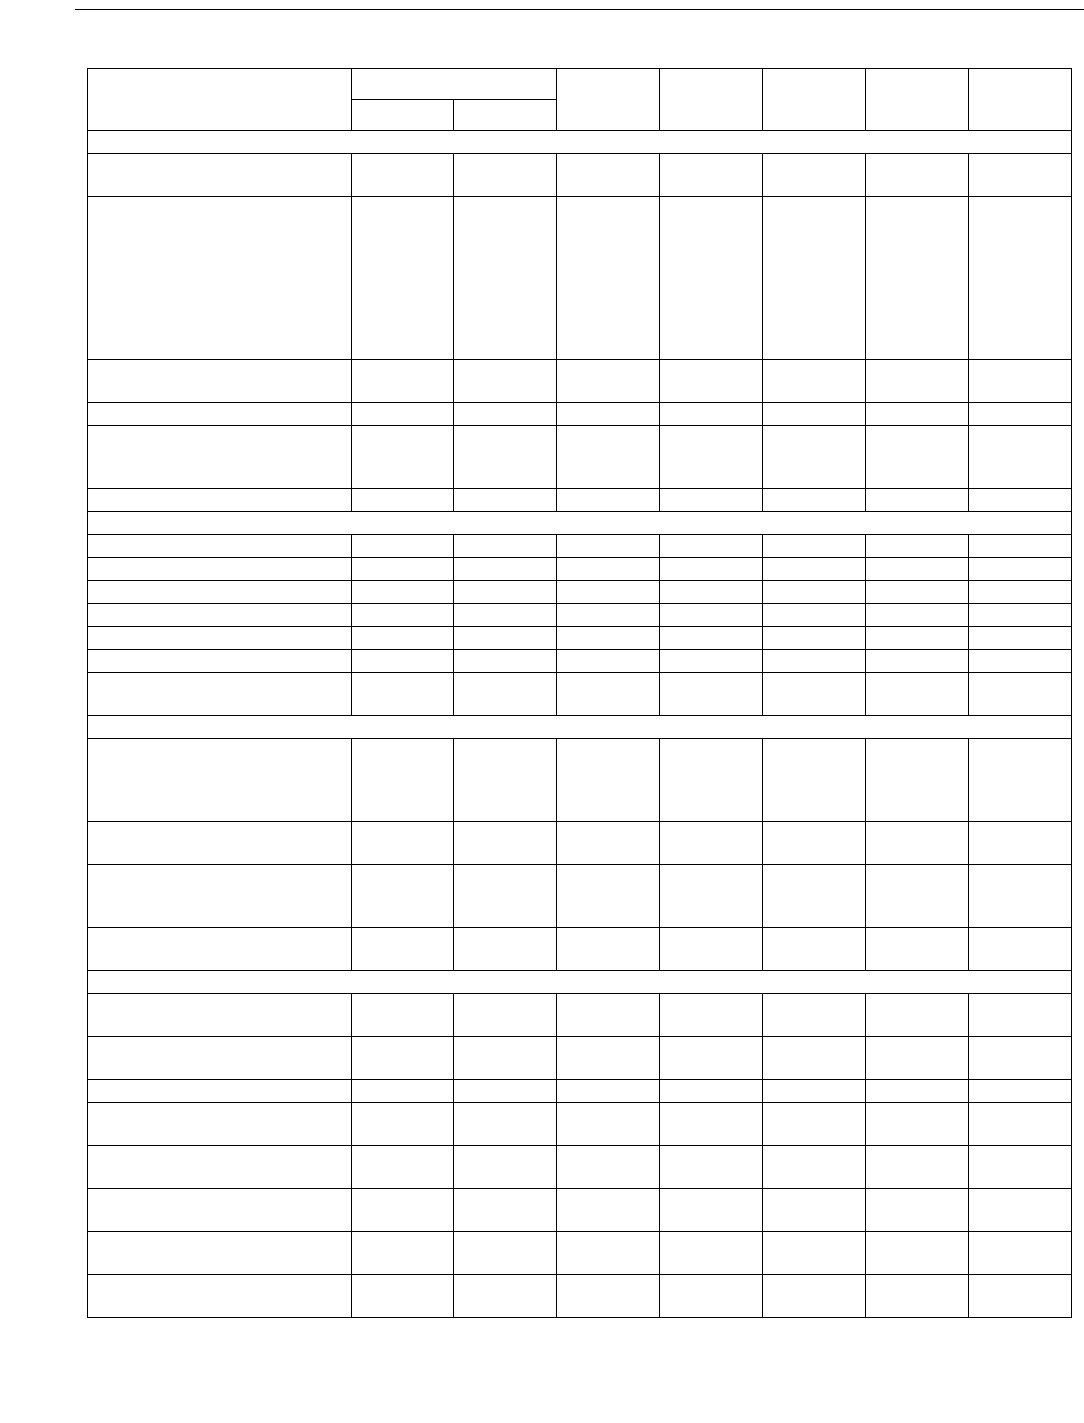
3-34 API STANDARD 617—CHAPTER 3
Item
Standard 617
Reviewed Observed Witnessed
Inspected
By StatusPar Ch
GENERAL
Contract Review—Testing and
Inspections Listed in Proposal
2.2.1.4 1
General Test Requirements 4.1.1
4.1.3
4.1.4
4.1.4.1
4.1.6
4.1.7
4.2.1
4.2.1.2
1
1
1
1
1
1
1
1
Cleanliness 4.2.1.3
4.2.1.4
1
1
Hardness 4.2.1.5 1
Nameplate 2.11.1
2.11.2
2.11.2.1
3
3
3
Rotation Arrows 2.11.3 3
MATERIAL INSPECTIONS
Material Inspections 4.2.2.1 1
Castings 2.2.2.1 1
Low Temperature Impact 2.2.1.15.5 1
Forgings 2.2.3.2 1
Weldings 2.2.4.1 1
Pressure-containing Casings 2.3.1 1
Material Inspection of Pressure-
containing Parts
2.3.1.12 1
ROTATING ELEMENT
Impellers 2.5.10.4
2.5.10.5
2.5.10.6
4.3.3.1
1
1
1
1
Overspeed 2.5.10.7
4.3.3.1
1
1
Balance 2.6.8
2.6.8.8
Annex B
1
1
Run-out 2.6.8.9
2.6.8.10
1
1
ACCESSORIES
Shaft End Seals 4.3.5
Annex D
1
Lubrication and Sealing Systems 2.10.3
API Std 614
1
Drivers 3.1 1
Steam Turbine 3.1.4
API Std 612
1
Motor 3.1.5
API Std 541
1
Gas Turbine 3.1.7
API Std 616
1
Separate Gear Units 3.1.8
API Std 613
1
Coupling and Guard 3.2
API Std 671
1
COPYRIGHT 2002; American Petroleum Institute
Document provided by IHS Licensee=Shell Services International B.V./5924979112,
User=, 10/07/2002 18:49:21 MDT Questions or comments about this message: please
call the Document Policy Management Group at 1-800-451-1584.
-- | ||| | | | |||| || | |||| || | | | | ||| | |---

AXIAL AND CENTRIFUGAL COMPRESSORS AND EXPANDER-COMPRESSORS FOR PETROLEUM, CHEMICAL AND GAS INDUSTRY SERVICES 3-35
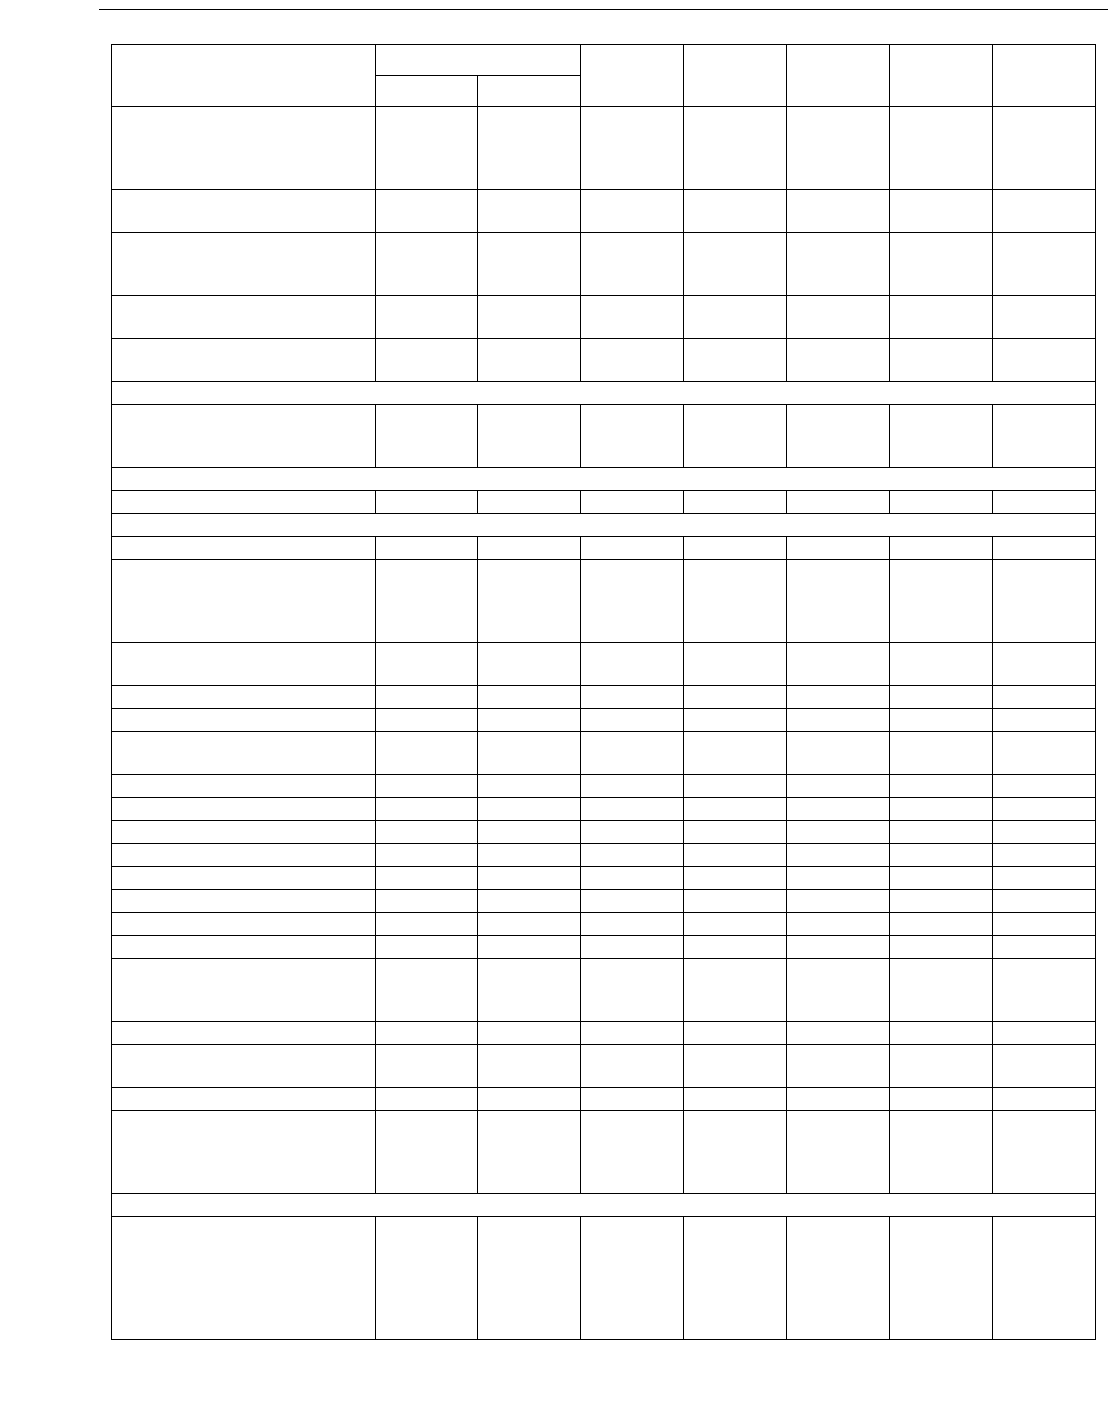
Instrumentation 3.4.3
3.4.4
API Std 614
API Std 670
1
1
Alarms and Shutdowns 3.4.5
API Std 614
1
Electrical Systems 3.4.6
API Std 614
2.1.14
1
1
Piping 3.5.1
API Std 614
1
Special Tools 3.6.1
3.6.2
1
1
HYDROSTATIC TEST
Hydrostatic Test 4.3.2.1
4.3.2.2
4.3.2.3
1
1
1
OVERSPEED TEST
Impeller Overspeed Test 4.3.3.1 1
MECHANICAL RUNNING TEST
Unbalance Response Verification 2.6.3.1 1
Vibration Record 2.6.3.1.1
4.3.6.1.1
4.3.6.1.2
4.3.6.1.3
1
1
1
1
Contract Shaft Seals Used in Test 4.3.6.1.4
4.3.1.1.1
1
3
Oil Flow Rates P. & T. 4.3.1.1.3 3
Oil System Clean 4.3.1.1.4 3
Warning Protective Control
Devices Checked
4.3.1.1.6 3
Connections Check for Leaks 4.3.1.1.5 3
Test Coupling Used 4.3.1.1.8 3
Vibration Levels 4.3.1.1.11 3
Test Speeds Performed 4.3.1.2.1 3
Test Run at Trip Speed 4.3.1.2.2 3
4-hour Test Run 4.3.1.2.3 3
Seal Flow Data 4.3.1.2.4 3
Lube and Seal Oil Flows Varied 4.3.6.1.5 1
Vibration Levels 4.3.1.3.1
4.3.1.3.2
4.3.1.3.3
3
3
3
Lateral Critical Speed Verified 4.3.1.3.3 2
Unbalance Response Analysis
Verified
4.3.1.3.5
4.3.1.3.6
3
3
Spare Rotor Tested 4.3.1.4.2 3
Assembled Compressor Gas Leak 4.3.2
4.3.2.1
4.3.2.2
4.3.2.3
3
3
3
3
OPTIONAL TESTING
Performance Test 4.3.3.1
4.3.3.1.1
4.3.3.1.2
4.3.3.1.3
4.3.3.1.4
4.3.3.1.5
3
3
3
3
3
3
Item
Standard 617
Reviewed Observed Witnessed
Inspected
By StatusPar Ch
COPYRIGHT 2002; American Petroleum Institute
Document provided by IHS Licensee=Shell Services International B.V./5924979112,
User=, 10/07/2002 18:49:21 MDT Questions or comments about this message: please
call the Document Policy Management Group at 1-800-451-1584.
-- | ||| | | | |||| || | |||| || | | | | ||| | |---

3-36 API STANDARD 617—CHAPTER 3
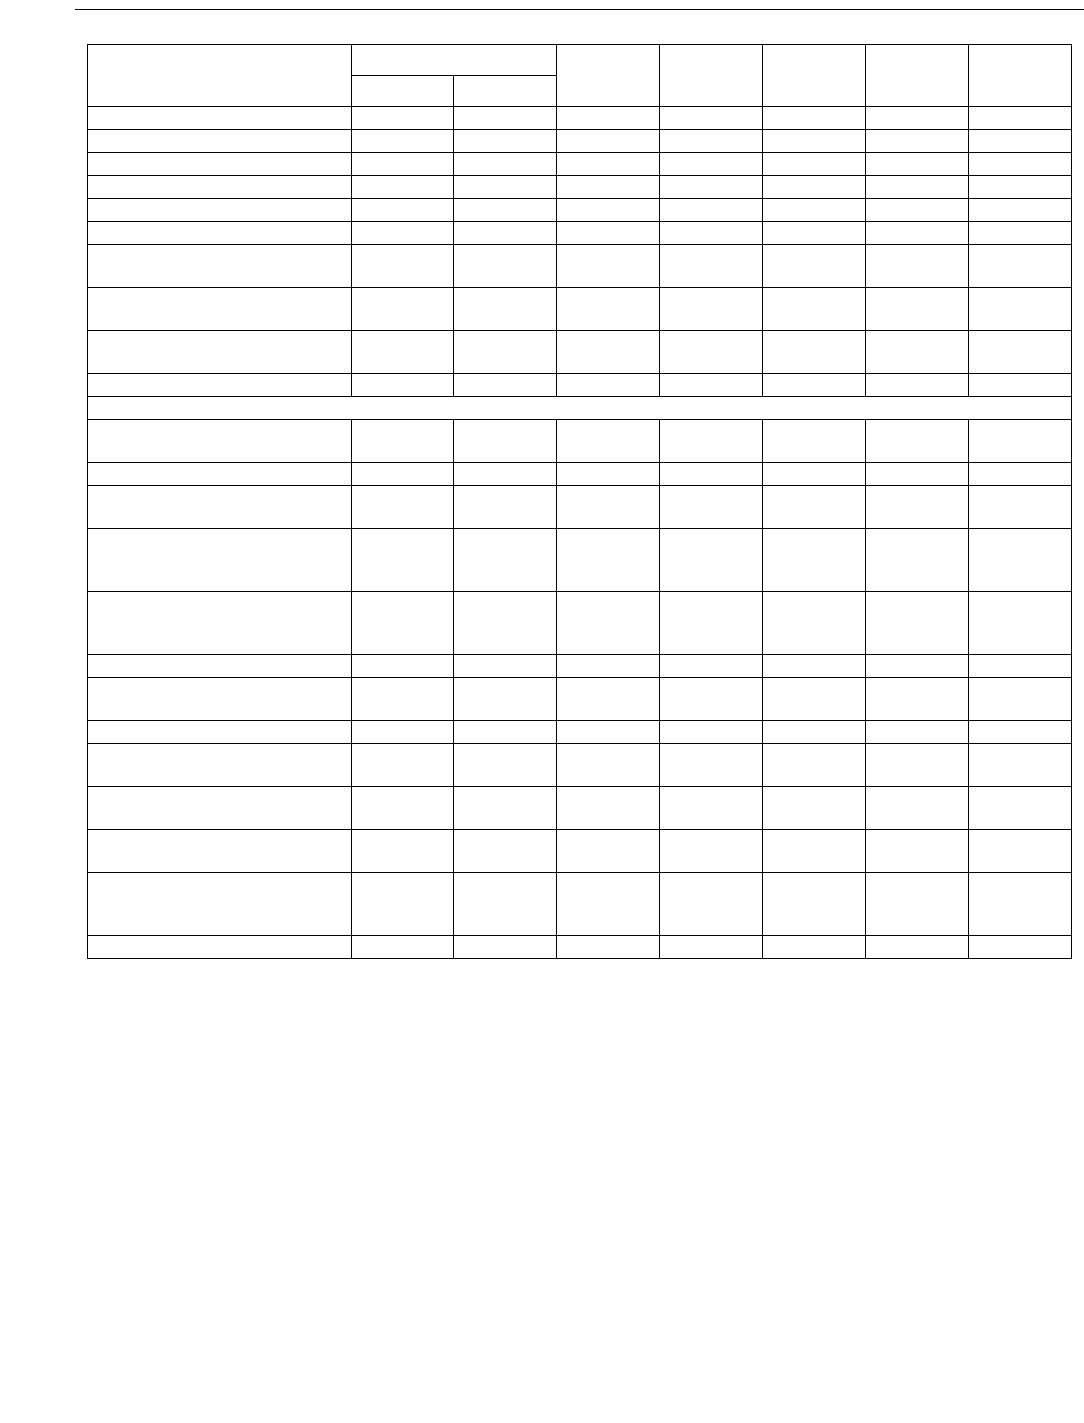
Complete Test Unit 4.3.3.2 3
Gear Test—Stand Alone 4.3.3.3 3
Full-speed Test 4.3.1.2.3 3
Helium Test 4.3.8.2 1
Sound-level Test 4.3.8.3 1
Auxiliary Equipment Test 4.3.8.4 1
Post-test Inspection of
Compressor Internal
4.3.8.5 1
Full-pressure/Full-load/
Full-speed Test
4.3.8.6 1
Post-test Inspection of Hydraulic
Coupling Fit
4.3.8.7 1
Spare Parts Test 4.3.8.8 1
PREPARATION FOR SHIPMENT
Equipment Prepared 4.4.1
4.4.2
1
1
Paint 4.4.3.1 1
Exterior Machined
Surfaces Coated
4.4.3.2 1
Bearing Housings, Oil Systems,
Auxiliary Equipment and Piping
Preserved
4.4.3.4 1
Openings Covered and Protected 4.4.3.5
4.4.3.6
4.4.3.7
1
1
1
Lifting Points Identified 4.4.3.8 1
Equipment Identified, Tagged,
Packing List
4.4.3.9 1
Spare Rotor Prepared for Storage 4.4.3.10 1
Exposed Shafts, etc. Prepared for
Shipment
4.4.3.12 1
Auxiliary Piping Connections
Tagged or Stamped
4.4.4
4.4.5
1
1
Installation, Instructions Shipped
with Equipment
4.4.6 1
Gear Contact Checks 4.2.1
4.2.1.1
4.2.1.2
3
3
3
Tooth Mesh Inspection 4.3.1.4.1 3
Item
Standard 617
Reviewed Observed Witnessed
Inspected
By StatusPar Ch
COPYRIGHT 2002; American Petroleum Institute
Document provided by IHS Licensee=Shell Services International B.V./5924979112,
User=, 10/07/2002 18:49:21 MDT Questions or comments about this message: please
call the Document Policy Management Group at 1-800-451-1584.
-- | ||| | | | |||| || | |||| || | | | | ||| | |---

3-37
ANNEX 3E
EXTERNAL FORCES AND MOMENTS
COPYRIGHT 2002; American Petroleum Institute
Document provided by IHS Licensee=Shell Services International B.V./5924979112,
User=, 10/07/2002 18:49:21 MDT Questions or comments about this message: please
call the Document Policy Management Group at 1-800-451-1584.
-- | ||| | | | |||| || | |||| || | | | | ||| | |---

3-38 API STANDARD 617—CHAPTER 3
For integrally geared compressors, it is not possible to give
a formula to calculate the maximum allowable piping forces
and moments on each casing flange. The limiting criteria are
the gear contact pattern and the impeller/stator gap. The max-
imum value of the external forces and moments, which leads
to acceptable deformations and therefore acceptable changes
of the gear contact pattern and the impeller/stator gap,
depends on various parameters.
These parameters include:
Volute geometry, volute wall thickness, length of overhang,
gear case geometry and gear case wall thickness. The possi-
ble combinations are nearly endless.
Each manufacturer has limits based on his own experience
for each volute size and gear case combination for a given
specific machine. The values are available from the manufac-
turer with the quotation.
It is a common practice on integrally geared compressors
to supply expansion joints in order to minimize the piping
loads on the machine flanges and to insure that piping loads
are within the allowable limits for the particular unit.
COPYRIGHT 2002; American Petroleum Institute
Document provided by IHS Licensee=Shell Services International B.V./5924979112,
User=, 10/07/2002 18:49:21 MDT Questions or comments about this message: please
call the Document Policy Management Group at 1-800-451-1584.
-- | ||| | | | |||| || | |||| || | | | | ||| | |---

3-39
ANNEX 3F
RATING FORMULAS FOR INTEGRALLY
GEARED COMPRESSOR GEARING
COPYRIGHT 2002; American Petroleum Institute
Document provided by IHS Licensee=Shell Services International B.V./5924979112,
User=, 10/07/2002 18:49:21 MDT Questions or comments about this message: please
call the Document Policy Management Group at 1-800-451-1584.
-- | ||| | | | |||| || | |||| || | | | | ||| | |---

3-40 API STANDARD 617—CHAPTER 3
The rating formula’s given below are based on the methods
from AGMA 2101. The constant of 0.8 at the beginning of the
formulas below is to provide increased reliability.
F.1 Pitting Resistance Power Rating
The pitting resistance allowable transmitted power, P
az
, for
a gear set is:
(3.F-1)
where
ω
1
= pinion speed (rpm),
b = face width (mm),
d
w1=
operating pitch diameter of pinion (mm) =
2a/(u – 1),
a = center distance (mm),
u = gear tooth ratio (never less than 1.0),
Z
E
= elastic coefficient = 190 for steel pinion and
gear,
Z
I
= geometry factor (reference AGMA 908).
F.2 Bending Strength Power Rating
The bending strength allowable transmitted power, P
ay
, for
a gear pair is:
(3.F-2)
where
m
t
= transverse module (equal to normal module
divided by the cosine of the helix angle at the
standard pitch diameter),
Y
J
= geometry Factor (reference AGMA 908).
F.3 Load Distribution Factor,
K
H
If the value of K
H
calculated below is less than 1.1, then
1.1 shall be used as the value of K
H
. Gear designs shall not
result in a calculated value of K
H
over 1.50 without approval
from the purchaser.
K
H
= 1.0 + 0.8 (K
Hpf
+ 0.054 + 0.4032 ×
10
-3
b – 1.152 × 10
-7
b
2
) (3.F-3)
where
b = face width of narrower member of gear set
(mm)
K
Hpf
= bod – 0.025
when b ≤ 25 mm
= bod – 0.0375 + 0.000492 b
when 25 < b < 432
= bod – 0.1109 + 0.000815 b – 3.53 × 10
-7
b
2
when 432 < b ≤ 1020
bod = the greater of 0.05 or b/(10 d
w1
)
Note: The distance from the center of the gear mesh to the center of
the bearing span divided by the bearing span must be less than 0.175.
The tooth contact must be checked at assembly, with contact adjust-
ments as required. If these conditions are not met, or for wide face
gears, an analytical approach may be used to determine a more con-
servative load distribution factor, with prior approval by the purchaser.
F.4 Dynamic Factor,
K
v
ISO 1328 Grade 5 = > K
v
= 1.135
ISO 1328 Grade 4 = > K
v
= 1.120
ISO 1328 Grade 3 = > K
v
= 1.105
ISO 1328 Grade 2 = > K
v
= 1.090
The dynamic factor, K
v
, does not account for dynamic
tooth loads that may occur due to torsional or lateral natural
frequencies. System designs should avoid having such natural
frequencies close to an excitation frequency associated with
an operating speed since the resulting gear tooth dynamic
loads may be very high.
F.5 Stress Cycle Factors,
Z
N
and
Y
N
Z
N
= 2.466 N
-0.056
, pitting stress cycle (life) factor,
Y
N
= 1.6831 N
-0.0323
, bending stress cycle (life) factor.
N is the number of stress cycles,
N = pinion RPM 1.052 × 10
7
for the pinion,
N = bull gear RPM × 1.052 × 10
7
× number of pin-
ions in mesh for the bull gear.
Note: These factors are based on the lower line in Figures 17 and 18
of ANSI/AGMA 2101-C95 with 175,316 hours (20 years
× 365.242
days/year
× 24 hours/day) of continuous service at rated operating
speed.
F.6 Allowable Stress Numbers, σσ
σσ
HP
and
σσ
σσ
FP
The values of σ
HP
and σ
FP
shall be for Grade 2 materials
per ANSI/AGMA 2101-C95, Clause 16.
P
az
0.8
ω
1
b
1.91
7
×10
---------------------
Z
I
K
v
K
H
C
SF
----------------------
d
w1
σ
HP
Z
N
Z
E
-----------------------
2
=
P
ay
0.8
ω
1
d
w1
1.91
7
×10
---------------------
bm
t
Y
J
σ
FP
Y
N
K
V
K
H
K
SF
------------------------------
=
COPYRIGHT 2002; American Petroleum Institute
Document provided by IHS Licensee=Shell Services International B.V./5924979112,
User=, 10/07/2002 18:49:21 MDT Questions or comments about this message: please
call the Document Policy Management Group at 1-800-451-1584.
-- | ||| | | | |||| || | |||| || | | | | ||| | |---

AXIAL AND CENTRIFUGAL COMPRESSORS AND EXPANDER-COMPRESSORS FOR PETROLEUM, CHEMICAL AND GAS INDUSTRY SERVICES 3-41
F.7 Reverse Loading
For idler gears and other gears where the teeth are com-
pletely reverse loaded on every cycle, use 70% of the allow-
able bending stress number, σ
FP
, in ANSI/AGMA 2101-C95.
F.8 Service Factor,
C
SF
and
K
SF
The service factor used for integrally geared centrifugal
compressors shall be 1.4 when driven by an induction motor,
1.6 when driven by a gas or steam turbine, and 1.7 when
driven by a synchronous motor or internal combustion engine.
COPYRIGHT 2002; American Petroleum Institute
Document provided by IHS Licensee=Shell Services International B.V./5924979112,
User=, 10/07/2002 18:49:21 MDT Questions or comments about this message: please
call the Document Policy Management Group at 1-800-451-1584.
-- | ||| | | | |||| || | |||| || | | | | ||| | |---
